December 2019
I spent a few weeks in Florida in December upgrading the electrical system on Wildthing. I did a lot of research during the summer and fall to design a state of the art lithium battery powered electrical system. My goal was to build an AC and DC electrical system that would be reliable and capable of supporting our electrical needs.
We were replacing the old AGM batteries and an inverter that was damaged by lightning. We planned to pull out the old propane stove and use an induction cook top for cooking. A 1200 watt microwave will also be powered by the inverter. The main DC loads are the freezer and fridge combination, autopilot, instruments, chartplotter and LED lights.
Most of the new electrical equipment was purchased from Battle Born Batteries and shipped free to Florida awaiting my arrival. I am in no way affiliated with Battle Born and they have not sponsored me in any way.
Batteries
I looked at all the lithium battery options and even the new carbon foam AGM batteries but decided to go with lithium. If you run the numbers comparing charge cycles and usable capacity of lithium compared to other battery types there is no comparison. Lithium is much more expensive up front but in the long run they are the best value.
We decided to go with Battle Born lithium batteries because of their large user base, great reviews, 10 year warranty and excellent customer support. We purchased three 100 amp hour batteries along with some other Victron equipment from Battle Born and received a 10% discount on all of the items purchases.
The Battle Born batteries have an onboard battery management system (BMS) which keeps the cells balanced, protects from over voltage and under voltage and over and under temperature. They use the safest LiFePO4 battery chemistry of all lithium batteries and have a great safety track record. Each battery only weighs 29 pounds which is about a third the weight of lead acid or AGM.
The Battle Born 100 amp hour batteries normally retail for $949. Customer service was great to deal with and I negotiated a discount since we purchased all of the other Victron items from them directly. We wired these three batteries in parallel with 2/0 cable and a 250 amp main fuse to create our 12 volt house bank. We built a battery box for 4 batteries and will purchase another battery this year for a total of 400 amp hours.
Inverter/Charger

We purchased a Victron 3000 watt, pure sine wave Multiplus inverter with an integrated 120 amp 12 volt three stage charger. This will take care of our 120 volt AC electrical needs and shore power charging.
The Multiplus is expensive and retails for $1284 but again the large user base, reliability and features made it a great choice. We received a 10% discount for purchasing this through Battle Born Batteries. Battle Born was also nice enough to program the inverter and solar charger for me at no charge with all the required charging parameters for the Battle Born lithium batteries.

The Multiplus has an internal transfer switch which will transfer the AC loads to the house batteries if the AC shore power is disconnected. It also has a power assist feature which will pull energy from the house batteries if the shore power cannot power all the AC demand. This is a solid unit and we are very happy with it.
There is one AC input and two AC outputs. Our shore power was connected to a 30 amp breaker then to the AC input on the inverter. One AC output was wired to the AC Main panel and powers the microwave and AC outlet around the boat. The other AC output can be used for loads that are only powered when connected to shore power such as a water heater or air conditioning.
Most of the Victron products have integrated Bluetooth which allows monitoring and control of the devices. To monitor the Multiplus inverter/charger we purchased a Bluetooth Smart dongle.
The Bluetooth Smart dongle was attached to the house batteries to monitor the temperature. It was then connected to the inverter with a network cable to monitor the house bank battery temperature, voltage and current. This also allowed us to use our phones or tablets with the Victron Connect app to monitor power into and out of the inverter and turn the inverter on and off and adjust the AC charging current. This saved us from having to buy a separate inverter control panel for $150 to do these features.
AC System
AC Shore power comes into a separate 30A breaker which powers the Victron 3000 watt inverter/charger. The main AC panel is only supplied through the Multiplus inverter.
When connected to shore power the inverter passes the AC power through to the loads. When disconnected from AC shore power the inverter's transfer switch automatically operates to draw power from the DC house batteries.
We chose to do away with the propane stove so all cooking will be done with an induction cook top and other AC appliances.
AC outlets were wired into the forward and aft berths, galley and main salon. One dedicated AC outlet was wired for the microwave and another for the induction cook top. The forward and aft heads were also wired with AC outlets. Some of the outlets also have USB charging ports to charge phones and tablets.
All AC circuits have three wires, a hot (black wire), neutral (white wire) and a safety ground (green wire). AC wiring on a boat is different than AC wiring in your residential home. American Boating and Yachting Council (ABYC) standards dictate that the neutral and ground wires should not be connected to each other on the boat for safety reasons.
All neutral (white wires) and green safety ground (green wires) should be terminated on separate buses all the way back to shore power. Please review and use marine wiring standards from the ABYC to properly wire your boat and prevent possible deadly accidents.
Solar Charger

We added two new 325 watts solar panels to the hard top on Wildthing. We selected the Victron 100/50 Smart Solar unit for our solar charger. This is an MPPT (multi-point power tracking) DC solar charger.
The MPPT unit allows us to use a larger solar panel voltage decreasing losses on our cabling from the panels to the solar charger. We connected the two solar panels in parallel with a 69 volt rating which produce a total of 650 watts.

The Victron Connect app can also be connected with Bluetooth to the solar charger and provide a variety of real time information about the battery and solar voltage, current and charts of historical energy production. This feature is very useful during setup and trouble shooting of the system.
10 gauge wire was run from the hard top through the support poles down into the bilge for a clean looking install. A 20 amp circuit breaker was used to protect the 10 gauge conductor from the solar panels to the solar charger. A 60 amp circuit breaker was used to protect the 6 gauge conductor between the solar charger and the battery.
Solar Panels
There are many options out there to consider when purchasing solar panels. You can choose flexible or rigid, polycrystaline or monocyrstaline at a variety of voltages.
I have never been too impressed with flexible panels. Even the best only have a few years warranty and suffer from de-lamination and early failure. One advantage of flexible panels is that they are very light.
We selected Panasonic 325 watt HIT rigid solar panels. These Panasonic panels have a 25 year warranty which is top in the industry. Many of the flexible panels are even more expensive than many rigid panels. One problem with rigid panels is that they are heavy and delivery costs can be very high. We found our Panasonics panels for $318 a piece and only $150 delivery charge from Solaris Solar.
https://www.solaris-shop.com/panasonic-vbhn325sa17-325w-mono-solar-panel/
These panels have 96 cells and a high module efficiency of 22% which is one of the best in the industry. These are commercial grade panels and have been used widely throughout the industry. They have an open circuit voltage (Voc) rating of 69.6 volts and short circuit current (Isc) rating of 6.03 amps. The panels were connected in parallel to reduce shading affects. The high panel voltage meant we needed an MPPT solar charge controller with a voltage rating to handle the 69.6 volts. Current from the two panels will be a maximum of 12.06 amps at 69.6 volts. The MPPT controller will convert this 12.06 amps at 69 volts to a maximum of 50 amps at 13 volts.
We had a limited area on the hard top so two of these fit perfectly. They measured 62.5 inches long by 41 inches wide. We may add additional panels in the future if these do not keep up with our usage.
Battery Monitor
With a lithium battery system it is important to know the state of charge of the batteries. We chose the Victron BMV-712. The monitor came with a 500 amp shunt which is connected with a network cable to the display. The shunt was mounted down in the engine room near the main DC negative buss. The display was mounted in the pilot house helm station.
This monitor integrates well with the other Victron products that we purchased. I set up a network to share data with the other Victron devices in the network. The BMV-712 has built in Bluetooth which allows monitoring from any smart phone or tablet. It is easy to setup and provides a quick and easy way to check voltage, amps, watts and temperature of the house and starter batteries.
Alternator Charging
One last area to address was how to charge the house bank from the engine powered alternator. Our Westerbeke 71C has a standard 65 amp alternator which is large enough to charge the starter battery. When that battery is charge up how do we use that excess energy to charge the lithium house bank. We wanted to keep the house and starter batteries separate since one is lithium and the other is AGM.
The Battle Born lithium batteries charge at 14.2 to 14.6 volts. Lithium batteries have a high acceptance rate and will take as much current as the alternator can put out and may possibly burn it up at low RPMs.
To limit the current we could either purchase a smart external alternator regulator like a Balmar MC614 or purchase a DC to DC charger. Victron has a product called the Orion Tr Smart charger. This is a DC to DC charger that is wired between the house and starter batteries and allows current to flow from the starter battery and alternator to the house bank only when the engine is running. They have an 18 and 30 amp models depending on your charging needs.
The Victron Orion is about $263 and is a fairly cheap option for an existing alternator setup. Other DC to DC chargers options include models made by Sterling. They have a 60 amp and 120 amp versions if larger charging current is needed. Renogy also makes a 20 amp model for $129. Other models of 40 and 60 amps are available also.
What are you all doing to upgrade your electrical systems? Please comment if you have any questions or think I could improve my setup.
Sail On /)
Mark

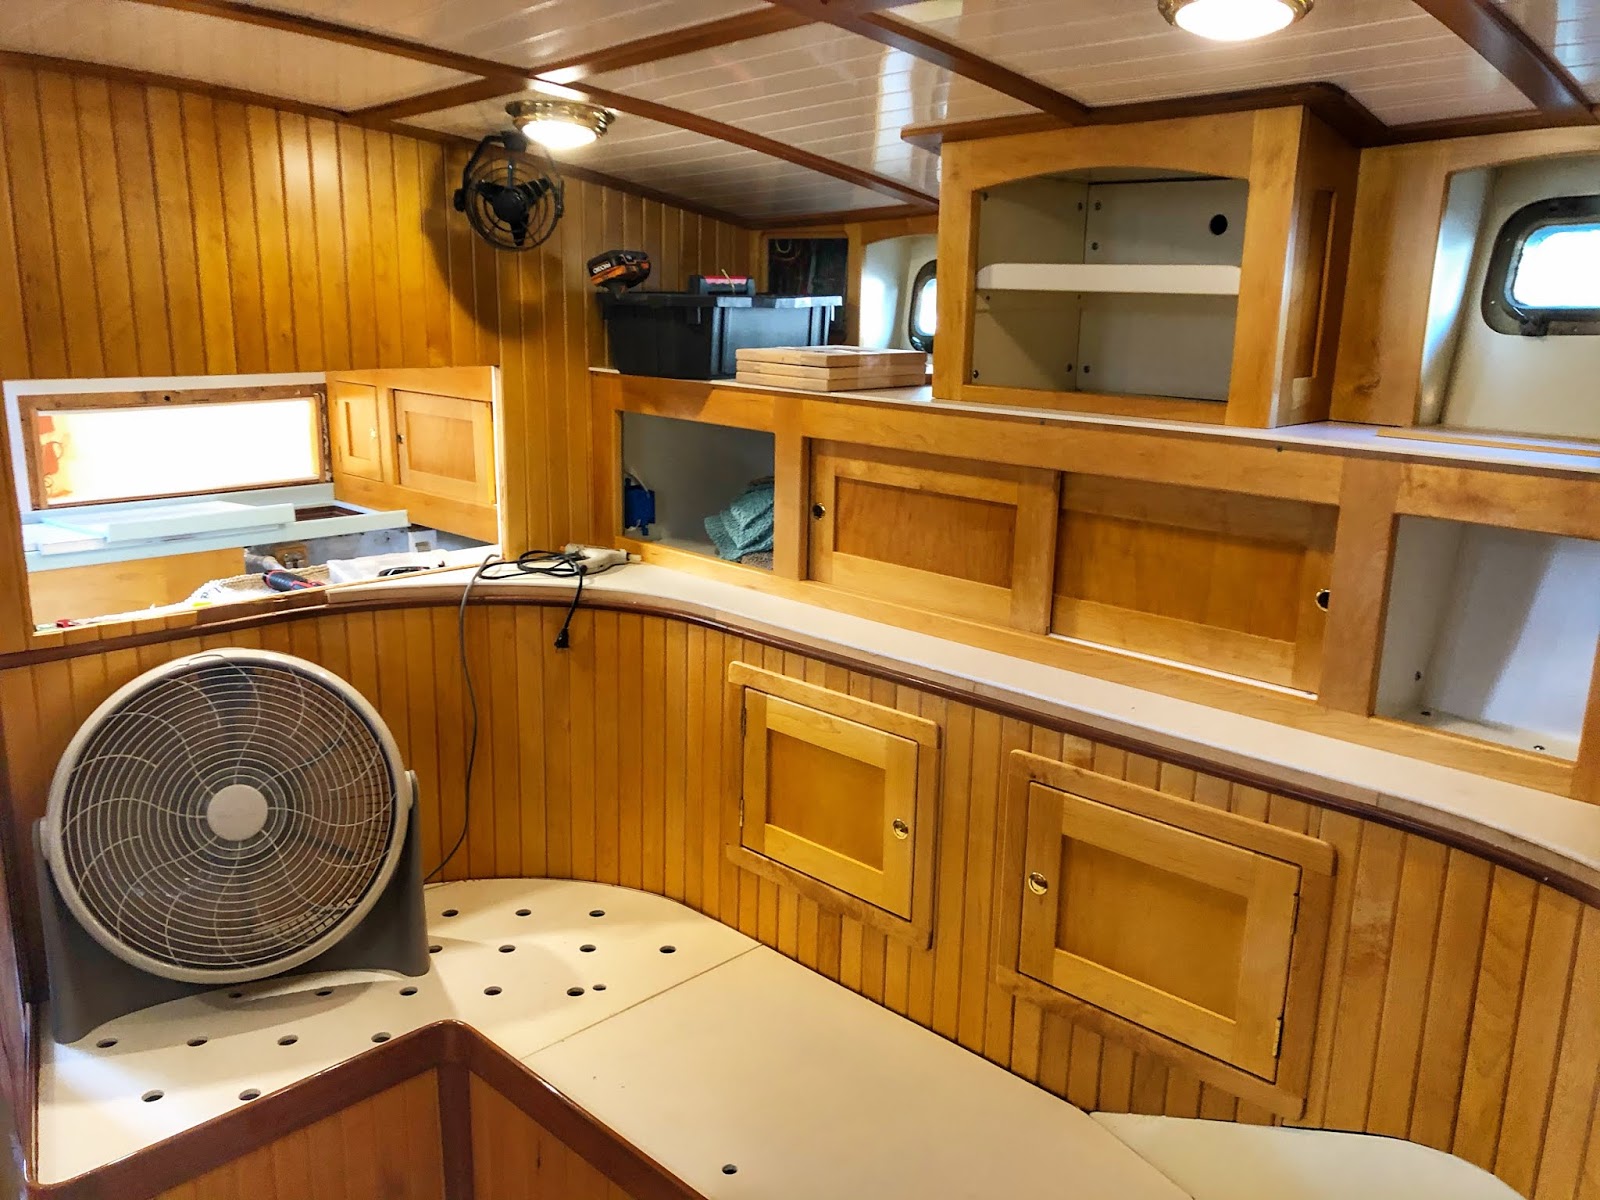
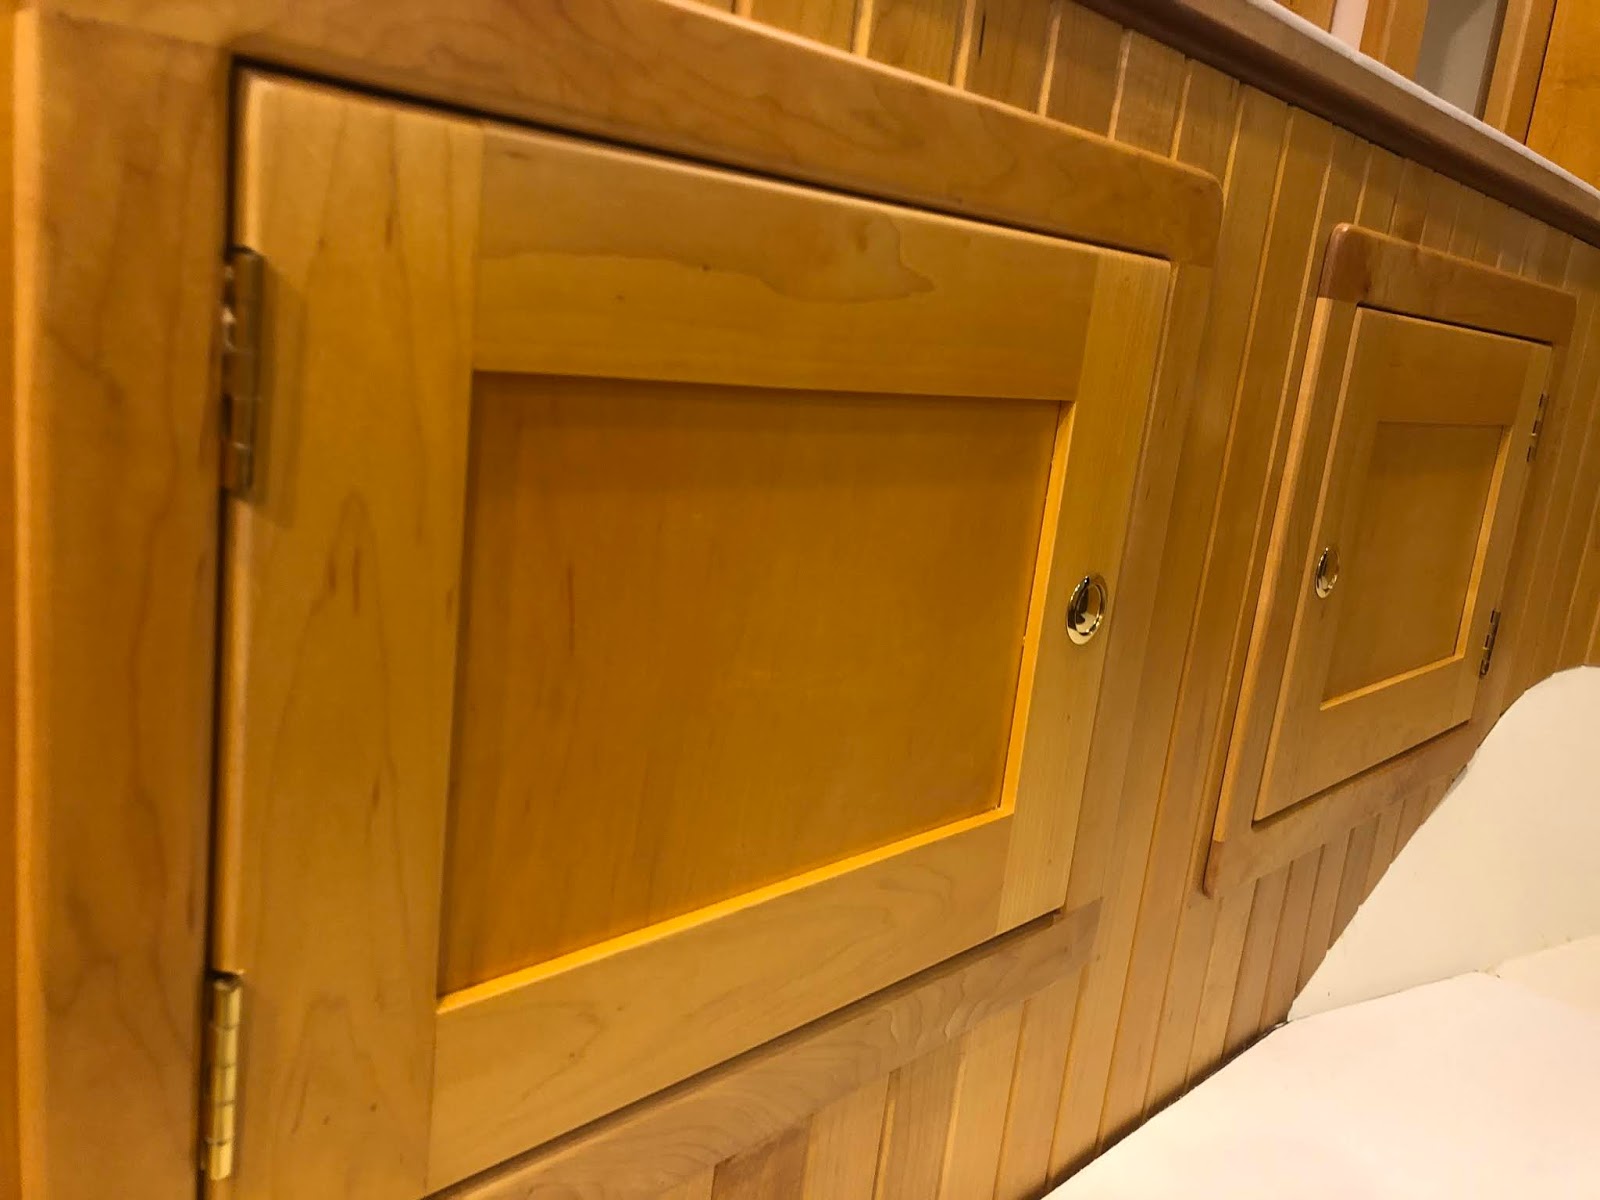
 All of the bulkheads and flooring were completed in the main salon in January of 2019. To finish up the salon all the frames and cabinet doors had to be installed.