Thursday, June 27, 2024

Mid Ship Head Completed April, 2024


Midship Head Completed!

The midship head was one of the last cabins to be completed. This had been sitting in a state of total disrepair for several years. Cabinetry, face frames, headliner and doors were done but it was all being held up by fairing and painting of the bulkheads.

I finally dove into this mess and finished up the fairing and sanding of the bulkheads. This was a hot and sweaty job but after a few days of work it was ready for primer. 

We used Total Boat primer and Wet Edge topcoat to achieve a nice glossy finish in the head and shower. 

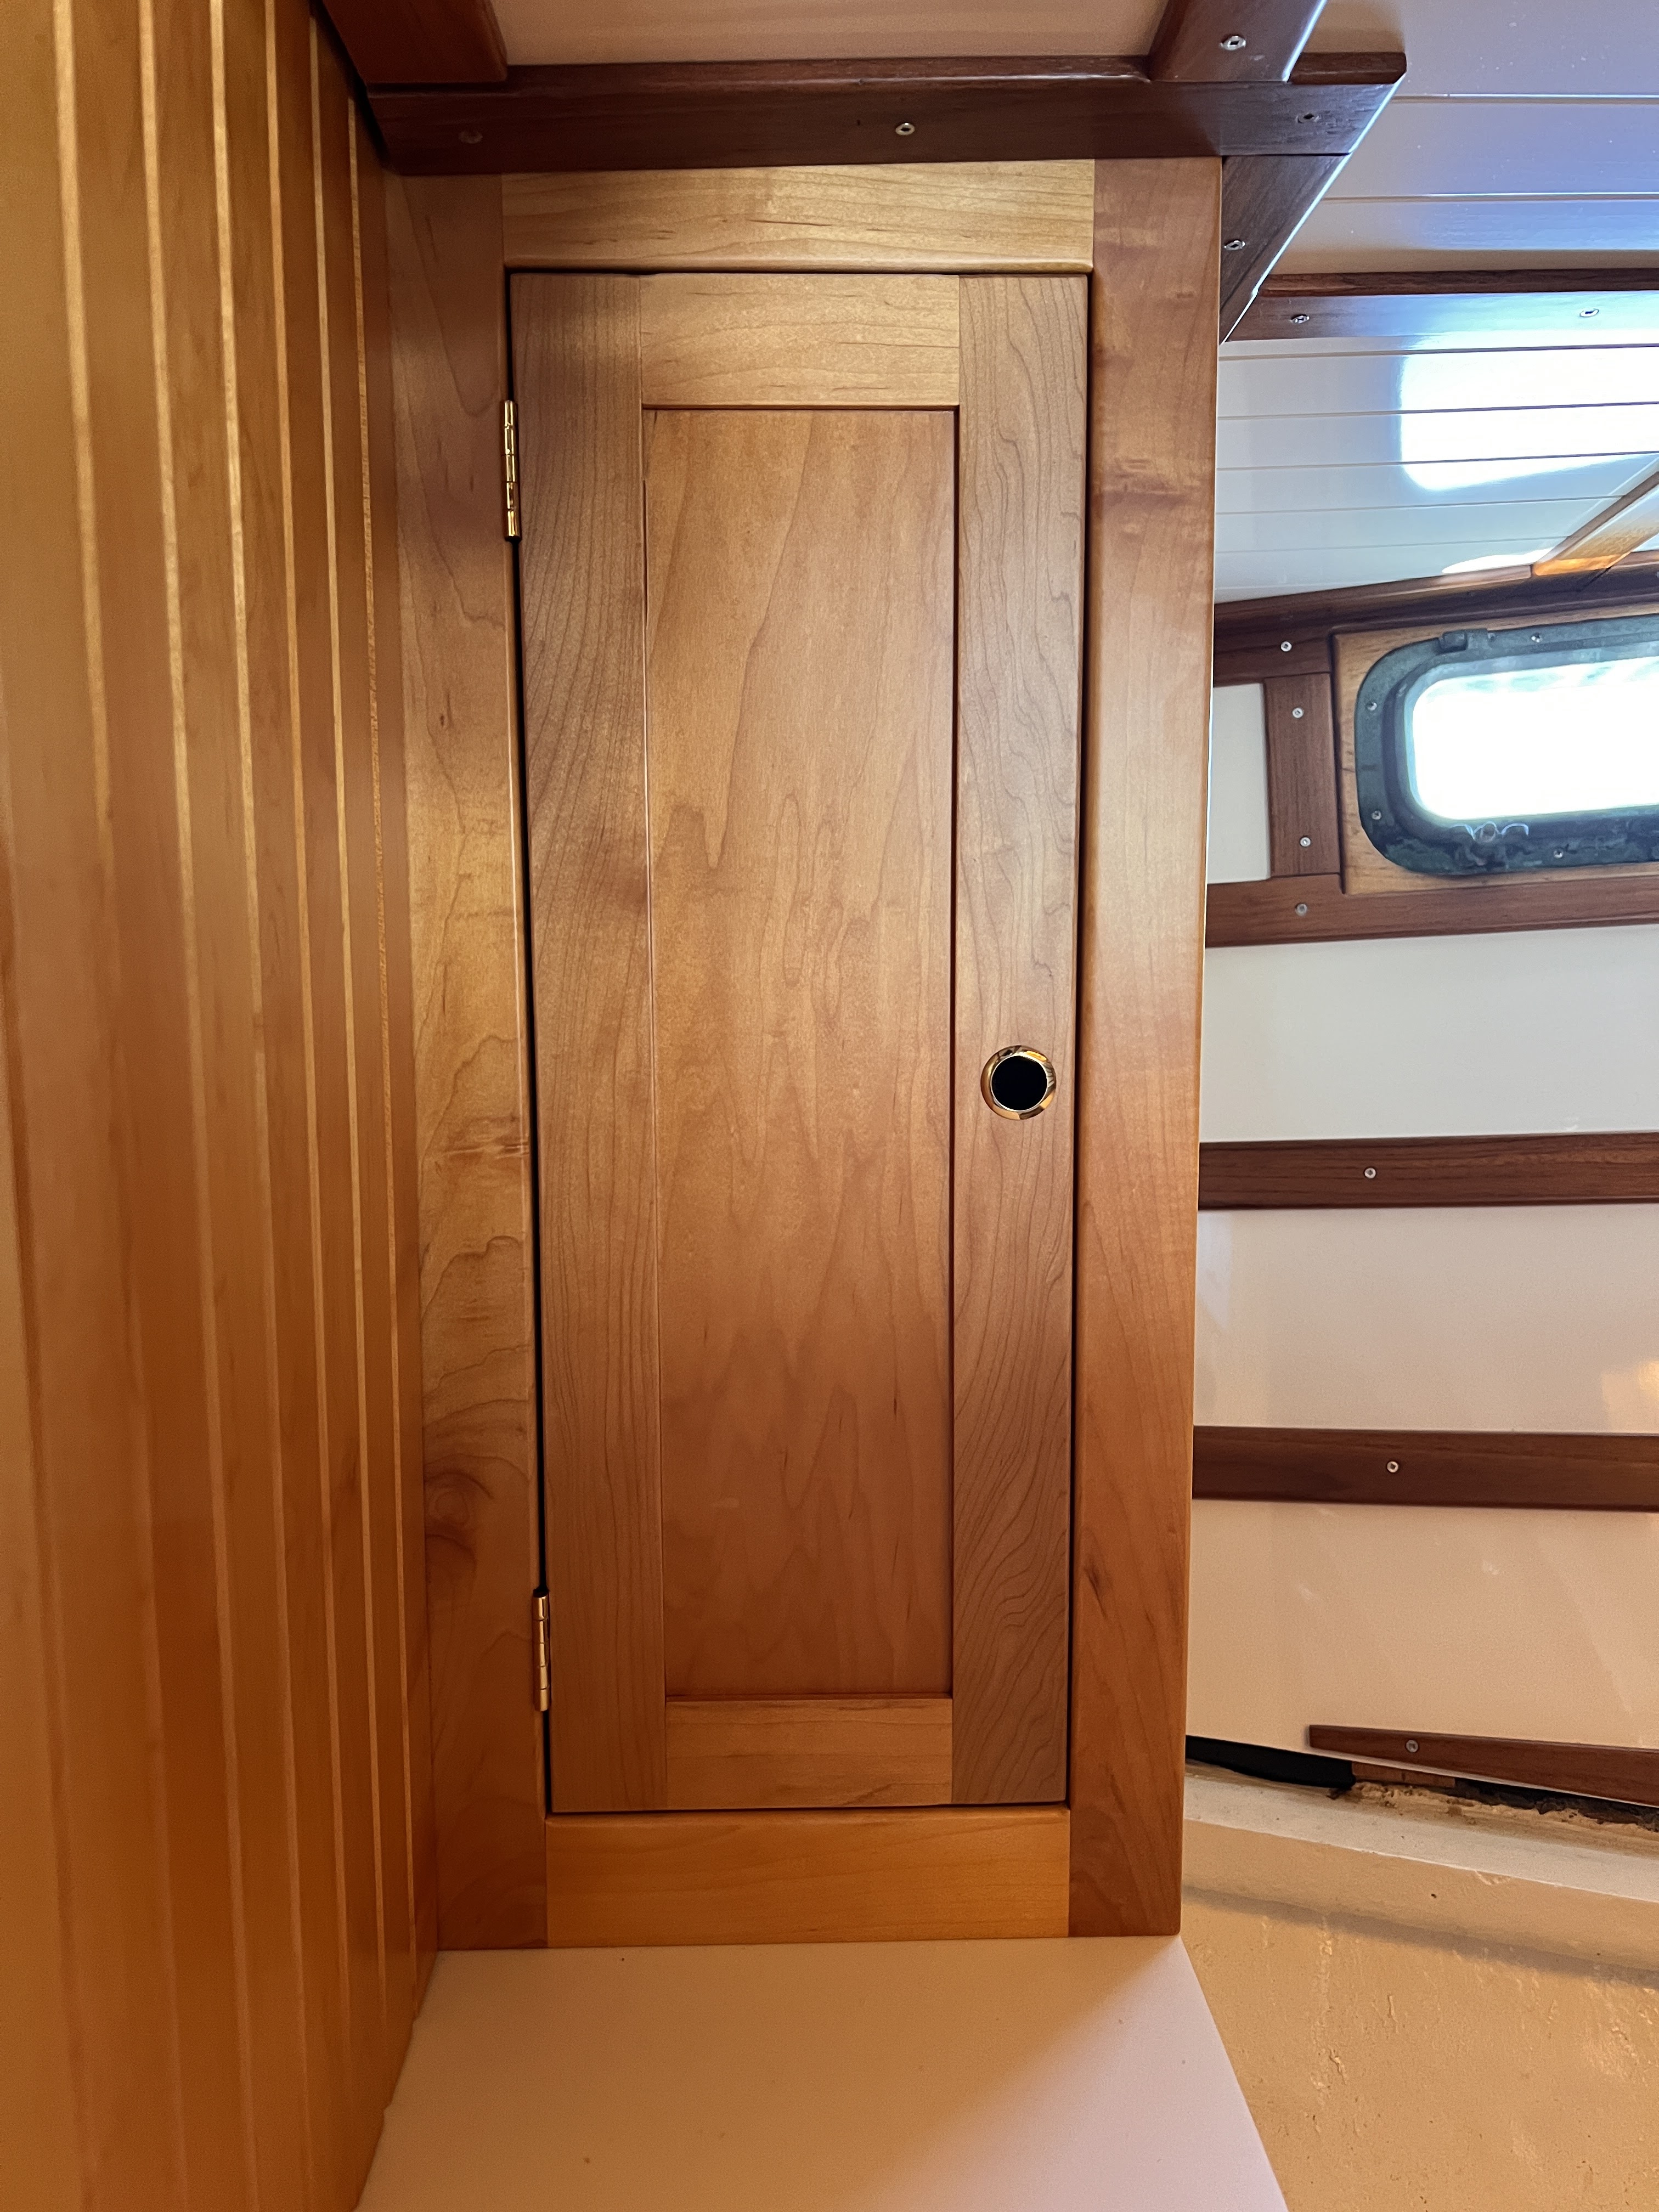
Once the painting was done the face frame and cabinetry could go back in. The upper cabinet has access to the chain plates, Y-valve and vented loops for the waste and fresh water.

Sliding doors give access to areas to store toiletries.

The headliner quickly followed the installation of the cabinetry. 

The panels went in nicely and the teak trim was added like the rest of the boat. An LED light with day and night/red mode was added.

An AC electric outlet was added to the aft/right side of the portlight opening. 


The midship head is a dry head with a separate shower stall. In the shower the drain pan had rotted out in a few areas so it was rebuilt. The pan was faired and re-glassed with some fiberglass matt and epoxy. I can guarantee it will never leak again.

A hose was glassed in the aft corner of the shower for a drain. This leads into the engine room where it will be connected to a sump where the gray water will be pumped overboard. 


Shower sump fiber glassed water tight!

Shower stall fairing
The shower seat and cabinet were installed. Fairing was used to create a cove in all the corners. This allows water to easily run off and not create any areas where dirt could accumulate or mold could grow. 

Large pop sickle sticks were used to smear on the fairing compound and then it was sanded, primed and painted.


Shower stall completed

Large hatches were installed in the shower to allow access to plumbing and toiletries. 

The controls and shower head were mounted on a sliding rail to allow use while standing or sitting down. 

The heads on the Pan Oceanic 46 used to both run into a large holding tank under the pilothouse settee area.  There was a huge tank that took up too much space and smelled so a change was needed. We decided to go with smaller holding tanks located in the cabinets of each head.

The new holding tank and plumbing had been previously installed by my brother a few years ago. I did have to fabricate a new toilet base to attach the new LaVac toilet and connect the waste and fresh water lines. The LaVac head works off of vacuum.

We installed an electric pump in this head, which creates a vacuum to pull the waste out of the toilet and up into the holding tank. The holding tank is about 12 gallons so it is not designed to hold much waste.

 A wye valve was installed to direct the waste into the holding tank or to pump it overboard when the boat is out at sea. 

A new base was built for the the LaVac toilet.  We used the same solid surface material used throughout the boat. This material will not rot and cleans up easily. 

The toilet was mounted and plumbed. Fresh water comes into the back of the toilet and waste leaves out the side. 

In this head we mounted the electric pump for the toilet up inside the cabinet. We tested it with water and it worked like a champ!

The button to activate the pump was mounted just inside the cabinet door on the top left.

Water lines to the shower and the drain for the sink have been completed.


The flooring in the head was completed with the same product used throughout the rest of the boat. We had just enough to finish the floor. 

We covered over the other sump in the floor in front of the cabinet. We saw no reason to have another area that could collect dirt and moisture.  We filled this in with a piece of 3/4 inch plywood and applied the flooring over that. It turned out to be a nice clean look. 

It feels great to check another cabin off the list as done! This one went pretty fast because all the pieces were completed and we were just waiting on priming and paint.  Onto the next cabin, lets finish this boat!

~~~Sail On~~~ /)

 Mark!


Finished head


Sink and Cabinetry

Cabinets and Headliner

Toilet


Teak Shower grate

Sink in the head

Midship Head

V-Berth Completed January, 2024

V-Berth Finished!

After a nice long summer in the Midwest we made our way back to Florida for the winter season.

Work on Wildthing started where we left off in the spring. The v-berth was where we spent most of our time the prior season. 

The bulkheads were all covered in maple tambour. Each piece was varnished to perfection and glued on. We worked our way around the cabin finishing all the bulkheads. 

The side walls of the cabin were covered in 1/4 plywood which was sealed with fiberglass then painted white and trimmed with the same teak strips that were used on the headliner. 


The headliner was completed last fall and the last few pieces of trim were added after the forward and aft bulkheads were finished.
The cabinet doors were built out of solid maple which was cut and planed to 3/4 inch thickness. 

Maple plywood was used for the door panels for a shaker style look.  We had a little more varnishing to do on the cabinet face frame before the doors could go on. We used two coats of Epifanes gloss followed by two coats of Epifanes Rubbed effect to give it a flat satin finish. 

Once this was completed the face frame was attached from behind with stainless steel screws.  

Doors were hung next. The hinges were chiseled into the sides of the doors and face frame to achieve the correct reveals and spacing. 

Nothing is square on a boat but we were able to get the doors hung and looking great. 

The left side has a set of shelves for clothes and right side is a nice big hanging locker.

The cubby cabinet up above was added to make use of some of that space. 

The last door was installed in the cabinet on the port side above the set of drawers. 

Hinges, a door pull and magnetic latches were added to finish it off. 


.

Once the face frame went in the remaining pieces of  tambour were added around the step next to the berth. It was all a puzzle that had to be put together in the right sequence to make it fit.  

The step was hinged in the middle with a stainless steel piano hinge to allow it to open up for storage below. 


Step with Treadmaster, trim and pull

Treadmaster, non skid was glued down on the two pieces of the step. Teak trim was added to the front and a brass finger pull was added to the forward piece to access the storage below. 


Teak trim was added to the storage locker on the starboard side of the berth. This triangular hatch opens up to a large storage area below.

The last piece of teak trim was added to the solid surface counter top on the port side above the drawers. 

This pretty much ends the work in the v-berth. It took most of the 2023 season and it felt great to finally see it come together. 

Re-fitting a boat is full of choices and compromises. Adding so much wood to the boats interior was a choice we made. It is a huge improvement over the old dark teak that was there before. We could have done it quicker by painting many of the surfaces but it would not look half as cool. It think it was the right choice and that it is indeed a one-of- a-kind custom look that no other Pan Oceanic has. 

We still need to come up with a mattress for the berth, but that about does it for the v-berth. 

I would love to hear your comments and will answer any questions you might have. 


~~~~  Sail On~~~ /)

Mark